
ログイン機能を実装している場合は、ユーザーがパスワードを忘れた場合の処理を考えておく必要があります。
通常はパスワードのリセットメールを登録しているメールアドレスあてに送信する形になるでしょう。
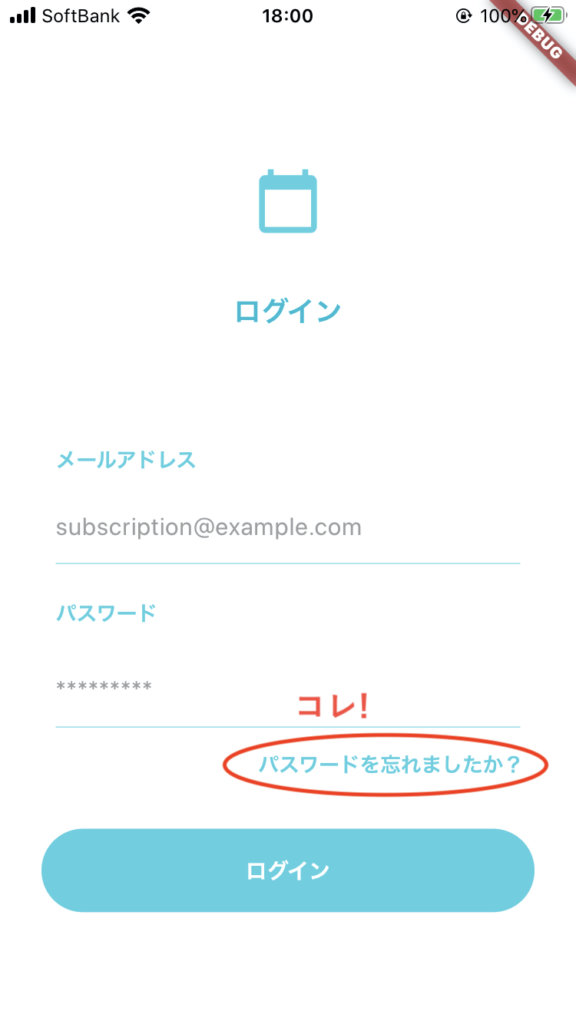
そこで今回はFlutterとFirebaseでパスワードリセットメールを送信してみます。
Firebaseの初期設定はすでに完了しているとします。
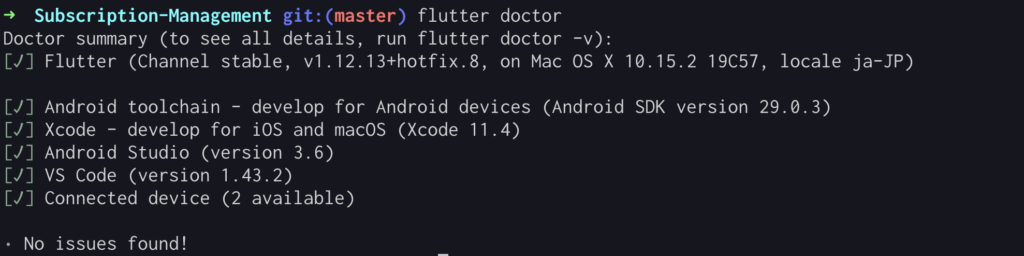
開発環境
- MacBook Pro (macOS Catalina バージョン10.15.2)
- Flutter 1.12.13+hotfix.8 channel stable
- Dart 2.7.0
パスワードリセットメール送信コードを記載
Firebaseを利用することで簡単にパスワードリセットメールを送信することができます。
sendPasswordResetEmail メソッドを使えば、自動でメールを送信してくれます。便利ですね。
またtry catchでエラーをキャッチします。
error.code でエラー内容を取得して返します。
auth.dart
import 'package:firebase_auth/firebase_auth.dart';

class AuthService {
  final FirebaseAuth _auth = FirebaseAuth.instance;

  Future sendPasswordResetEmail(String email) async {
    try {
      await _auth.sendPasswordResetEmail(email: email);
      return 'success';
    } catch (error) {
      return error.code;
    }
  }
}
メールアドレスを入力するためのフォームを作成します。
今回は簡略化のためボタン部分のみ記載します。
reset_password_form.dart
import 'package:flushbar/flushbar.dart';
import 'package:subscription_management/services/auth.dart';
import 'package:flutter/material.dart';

class ResetPasswordForm extends StatefulWidget {
  @override
  _ResetPasswordFormState createState() => _ResetPasswordFormState();
}

class _ResetPasswordFormState extends State<ResetPasswordForm> {

  final AuthService _auth = AuthService();
  final _formGlobalKey = GlobalKey();
  String _email = '';

  @override
  Widget build(BuildContext context) {

  〜フォームがはいる〜

    FlatButton(
      onPressed: () async {
        if (_formGlobalKey.currentState.validate()) {

          String _result = await _auth.sendPasswordResetEmail(_email);

          // 成功時は戻る
          if (_result == 'success') {
            Navigator.pop(context);
          } else if (_result == 'ERROR_INVALID_EMAIL') {
            Flushbar(
              message: "無効なメールアドレスです",
              backgroundColor: Colors.red,
              margin: EdgeInsets.all(8),
              borderRadius: 8,
              duration: Duration(seconds: 3),
            )..show(context);
          } else if (_result == 'ERROR_USER_NOT_FOUND') {
            Flushbar(
              message: "メールアドレスが登録されていません",
              backgroundColor: Colors.red,
              margin: EdgeInsets.all(8),
              borderRadius: 8,
              duration: Duration(seconds: 3),
            )..show(context);
          } else {
            Flushbar(
              message: "メール送信に失敗しました",
              backgroundColor: Colors.red,
              margin: EdgeInsets.all(8),
              borderRadius: 8,
              duration: Duration(seconds: 3),
            )..show(context);
          }
        }
      },
    ),

〜省略〜
  }
}
エラー時にいい感じのスナックバーを表示するために、flushbar というパッケージをインポートしています。

flushbar | Flutter package
A flexible widget for user notification. Customize your text, button, duration, animations and much more. For Android devs, it is made to replace Snackbars and ...
pub.dev
これでメール送信に成功した場合は Navigator.pop(context) で前の画面に戻り、失敗した場合はエラーメッセージをスナックバーで表示します。
- 失敗した場合

- 成功した場合
メールが送信されるのでリンクをクリックします。
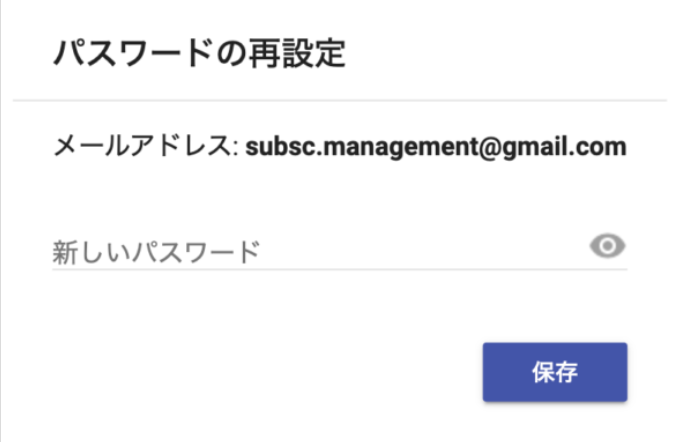
この時表示されるメールの文言はFirebaseのコンソール画面「Authentication→Templates→パスワードの再設定」で変更することが可能です。
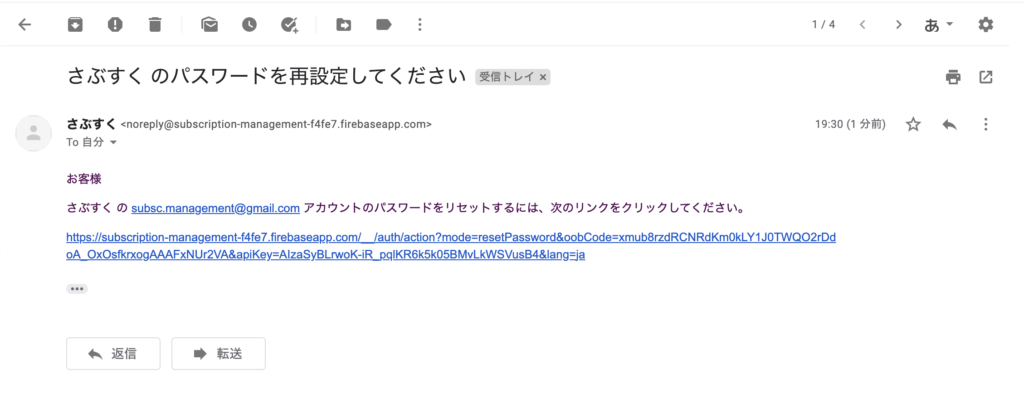
新しいパスワードをフォームに入力するとリセット完了です!
日本語でFlutterの概要を知るなら以下の書籍がオススメです。


コメント